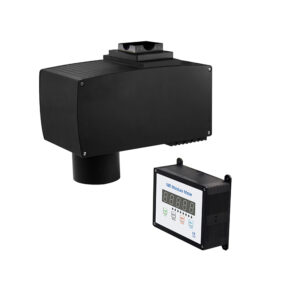
Description
Measurement Principle
Online moisture analyzer focuses near-infrared beams of multiple wavelengths onto the surface of the object to be measured, and the reflected near-infrared beams are received and processed by an advanced infrared optical detection system. This advanced infrared optical detection system has an embedded ultra-high-performance micro digital signal processing chip to process, store and display the required data, with outstanding accuracy and stability.
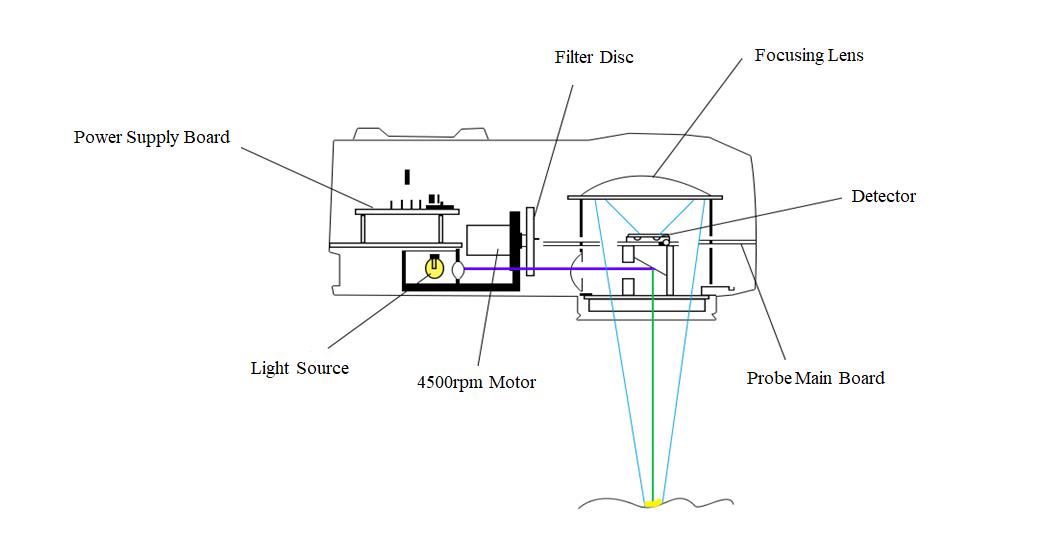
Online moisture analyzer installs a precision infrared filter on the wheel, so that the pulses of reference light and measurement light can alternately pass through the filter. First, the reference light is projected on the sample, and then the measurement light is also projected on the sample. These two sequential light energy pulses will be reflected back to the detector and converted into two electrical signals in turn. The reference channel indicates how much reflected energy is expected. Part of the reflected energy in the measurement channel is absorbed by water molecules, so its energy will be attenuated. These two signals can form a ratio. The difference between this ratio and some other ratios obtained from samples with different moisture contents is proportional to the difference in moisture content between the two.
The equation is as follows:
R*M1/M*R1 = Ratio
In the formula:
R represents the reference channel of the product beam;
M represents the measurement channel of the product beam;
M1 represents the measurement channel of the compensation beam;
R1 represents the reference channel of the compensation beam;
In the event of a drift, such as a change in the intensity of the light at the measuring wavelength, the values of M and M1 will also be affected proportionally, and in the case of ratios the effects will be canceled out. However, if the moisture content of the sample is changed, only the M value is affected and the measured moisture will vary significantly.
Technical Parameters
| Model | QL-300M |
| Applicable Products | Light-colored and bright-colored materials (no water seepage on the surface) |
| Probe Glass | Use high-bay quartz glass to avoid stains and moisture adhesion. |
| Measuring Range | 0-50% (The maximum measurement range is when the material is saturated with water. There is no water seepage on the surface.) |
| Measurement Accuracy | ±0.1%-0.5% (depending on material properties) |
| Resolution | 0.01% |
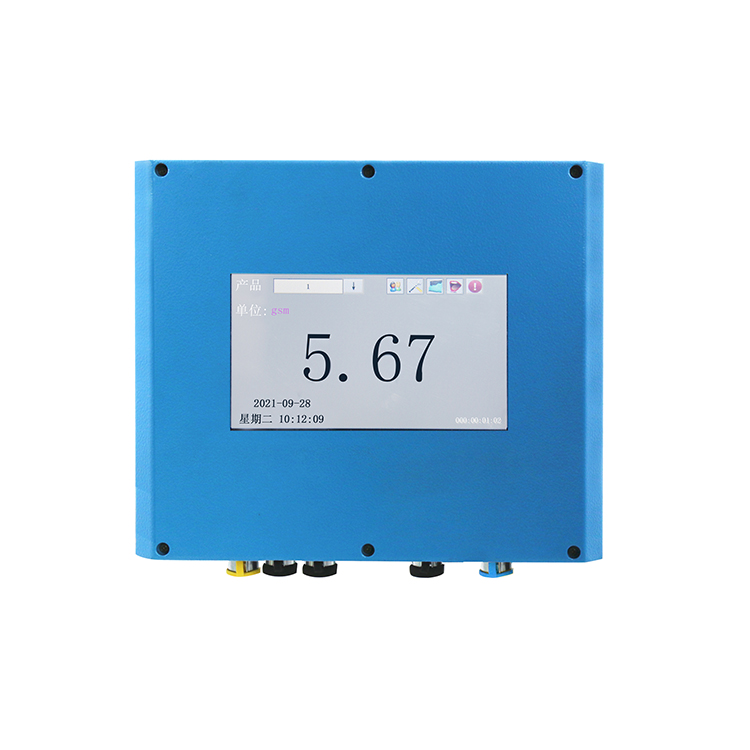
| Display Content | 5-digit digital tube, 4 buttons, 8 status lights (directly determine various status of the probe) |
| Spot Diameter | 50mm (varies with distance) |
| Measuring Speed | 0.125 seconds (after stabilization) |
| Detector | Add filter package to avoid external light interference |
| Calibration and Adjustment | Quick calibration; pre-calibration; no need for daily re-calibration |
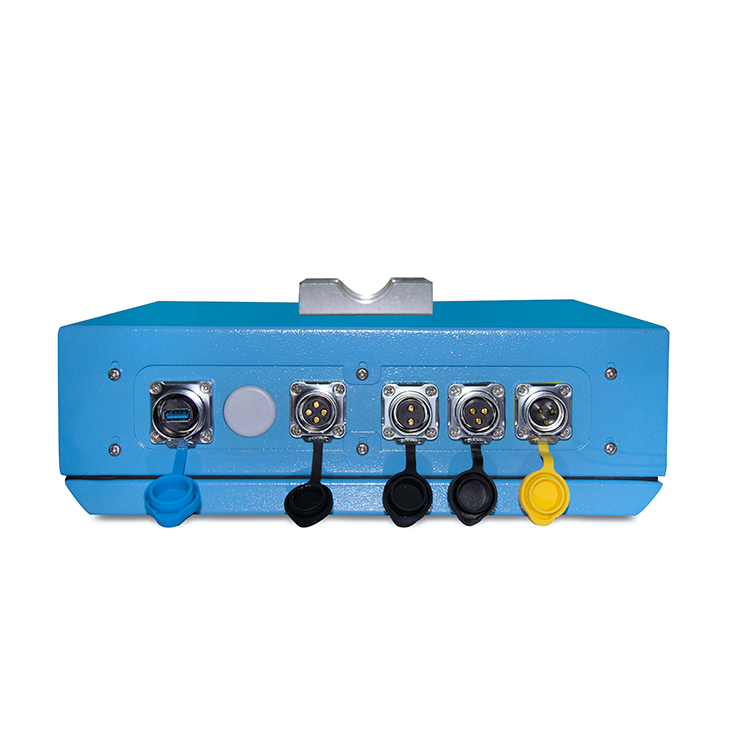
| Signal Output | RS485, 4-20mA analog signal |
| Protocol | Free protocol/MODBUS-RTU (read and write, supports remote modification of parameters and calibration); three Rs485 channels in total |
| Number of Channels | 50 |
| Operating Temperature | -10℃~50℃ |
| Working Distance | 250mm~450mm |
| Working Power Supply | Waterproof power supply module: AC 90-220V 50/60hz global voltage adaptive; output DC 24V; |
| Dust and Vapor Proof (trace amount) | Standard sintered filter element dust cover (users prepare air source by themselves) |
| IP Rating | IP67 |
| Weight | Probe: 6kg; Host: 4kg; |
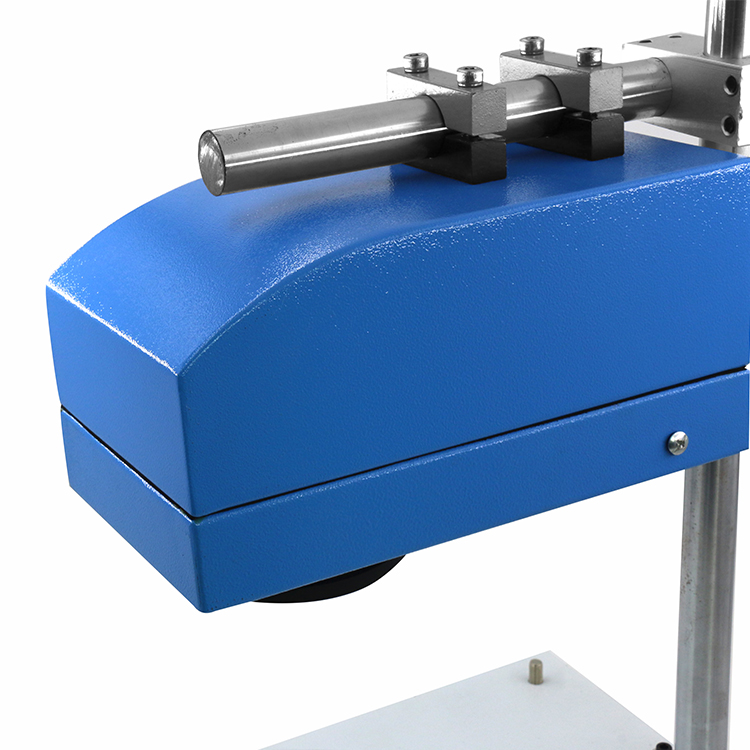
| Mounting Brackets | Customers need to customize it according to the conditions of the work site. The diameter of the installation round pipe is 25-32mm. |
Advantage
